Parallax Propeller Book - Appendix A
How to use Propeller Tool
Prerequisites:
- Completed Set-Up (Chapter 0)
Step 1
Open the installed Parallax Propeller Tool
How to do it:
Double click the "Propeller Tool" Icon on your desktop.
You should see this:

Then after several seconds you should see this:
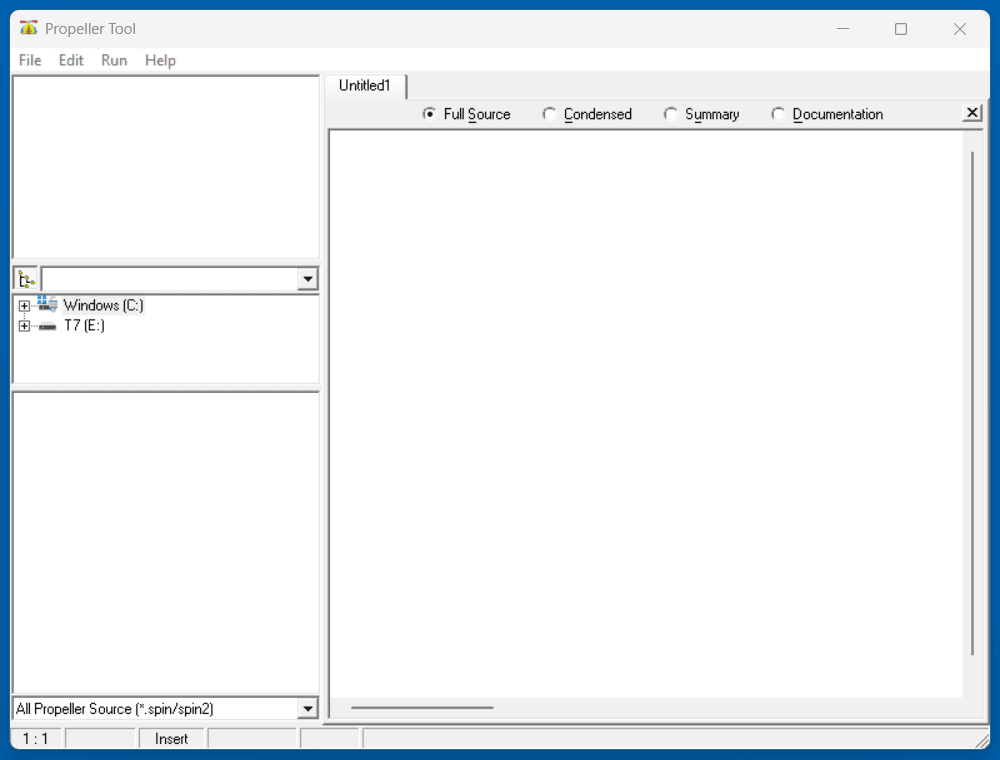
Parallax Propeller Tool is now OPEN
Step 2
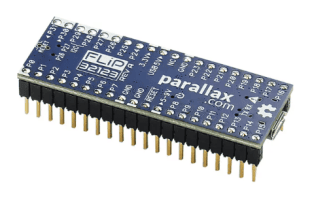
Plug in the Parallax Propeller (FLiP)
How to do it:
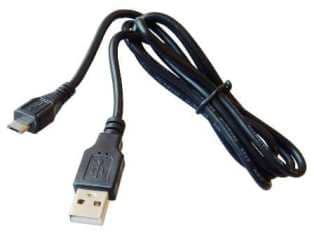
Note: USB A to Micro B cable is required, any length cable can be used (1 to 10 feet).
- Plug the USB Micro B connector of the USB Cord into the FLiP module
(right end in above FLiP image)
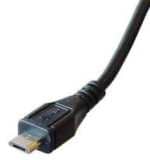
USB Micro B connector
- Plug the USB A connector of the USB Cord into any available
USB port on your host computer
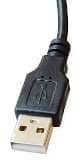
USB A connector
The GREEN LED (Power ON Indicator) on the FLiP module should be Lit (+5 VDC).
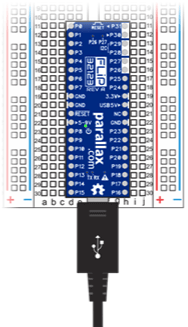
FLiP module is ON and connected to Computer via USB
Step 3
Identify Hardware
How to do it:
In the Propeller Tool Window click Run on the Top Menu Bar (3rd item).
Following drop down menu should appear:
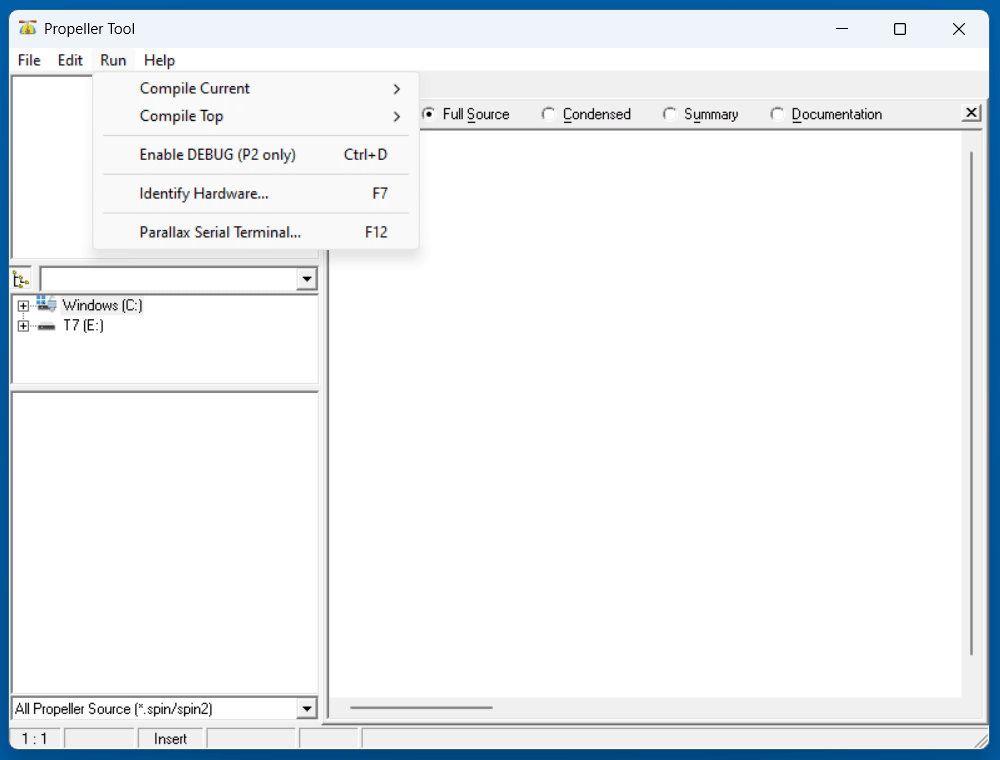
On the drop down menu select and click
"Identify Hardware …"
Or alternately press the [F7] Key.
You should immediately see another pop-up, which identifies the COM port on which your FLiP is installed (may be any COM number), the number of the Microcontroller cogs, size of hub and number of I/O pins.
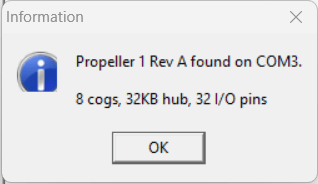
Hardware has been Found and Identified on COM
Click the [ OK ] button in the pop-up.
The pop-up should disappear.
Step 4
Spin Program
How to do it:
The cursor (|) should now be at TOP LEFT of the right side pane with the Untitled1 label on the corresponding Tab.
The cursor (|) will blink several times and then remain solid black.
You are now ready to COPY and then PASTE into this Untitled1 work space your Spin Method.
Example:
We will use the first Spin program from Chapter 4 - Part 1:
Link: http://www.mirox.us/PPB4.html
Click on the above link, so it will open in a new Tab in your browser (Chrome is preferred).
OPTION 1
Scrawl down the web page until you see this:

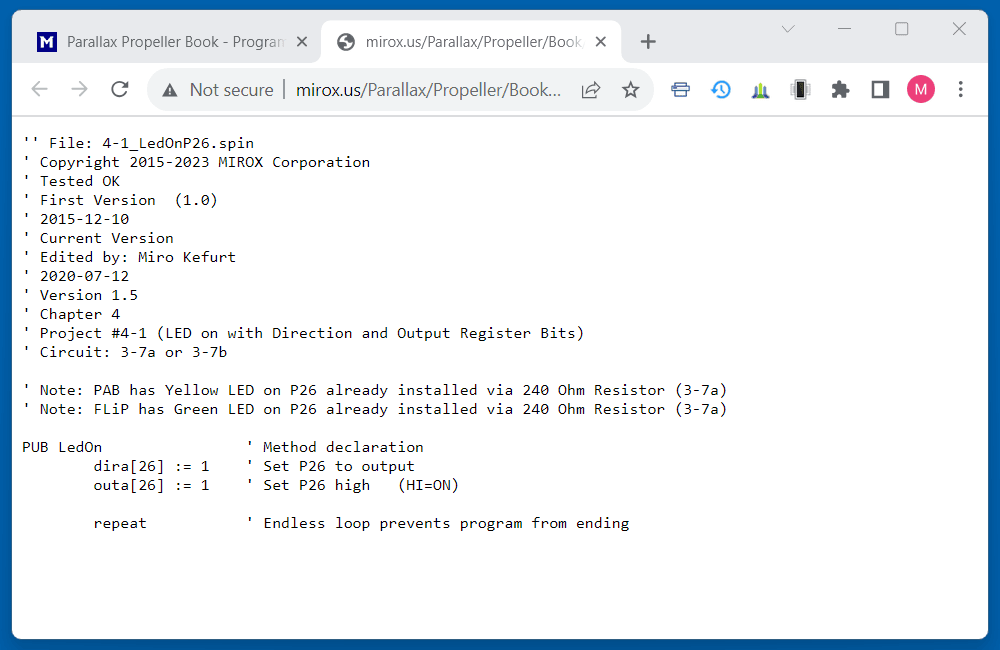
Click on the "4-1_LedOnP26.spin" link.
Now a separate new window should open in your browser (preferably Chrome):
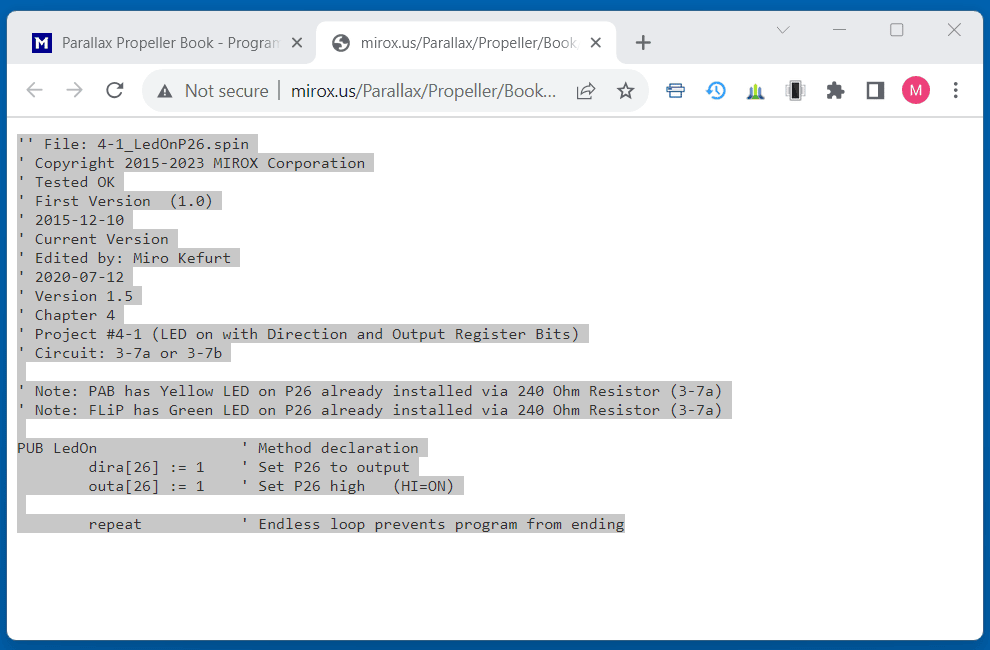
Now highlight all of the text.
This is achieved by placing the cursor ahead of the first line ('' File: 4-1-_LeadOnP26.spin") and while depressing the LEFT mouse button drag the cursor with mouse to the end of the last line ("repeat 'Endless loop prevents program from ending).
Now you should see this:
Note:
The highlight on your Chrome browser window many be of different color combination than
which is shown above, for example it may be
Dark Blue background with the text shown as White - the color scheme depends on your browser's settings.
However, as long as it is highlighted that is OK
Now press and HOLD the [ctrl] Key and then press and release the
[C] Key, and immediately also release the [ctrl] Key
This will COPY the text to a Clipboard.
Now switch back to the Propeller Tool Window and you should again see this:
The cursor (|) should now be at TOP LEFT of the right side pane with the
Untitled1 label on the corresponding Tab.
The cursor (|) will blink several times and then remain
solid black.
Now press and HOLD the [ctrl] Key and then press and release the [V] Key, and immediately also release the [ctrl] Key.
The copied Spin program (in Clipboard) should PASTE into the right pane with the Untitled1* label on the corresponding Tab:
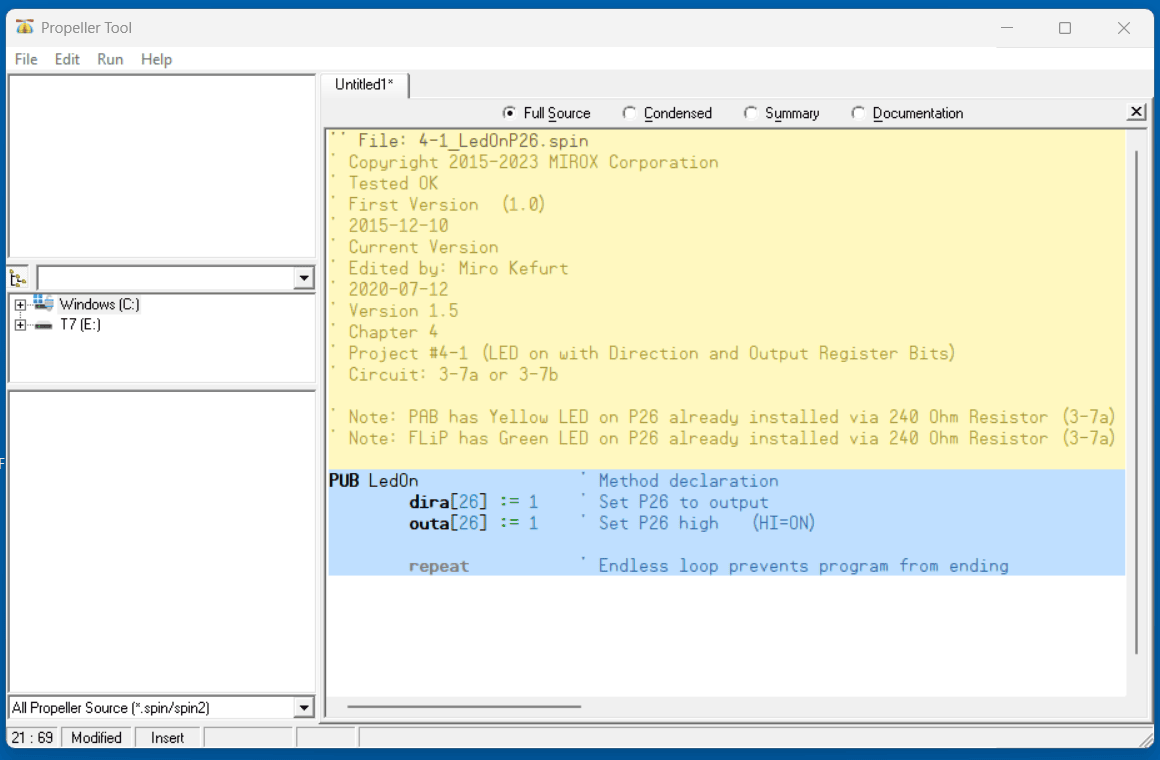
Propeller Tool is now populated with Spin.
Note, that the Tab Label [Untitled1*] now has an asterisk (*) at the end, this indicates that the Spin program has not yet been "saved" and therefore cannot be yet "loaded" into the Propeller.
Step 5
SAVE Spin Program
How to do it:
Important:
If you have not yet created the "ParallaxLearn" folder on your computer's main (usually C) drive, see the "Get Ready" section in Chapter 0 (Set Up).
You should have the Propeller Tool with Spin program on your screen:
In the Propeller Tool Window click File on the Top Menu Bar (1st item).
You should immediately see drop down Menu:
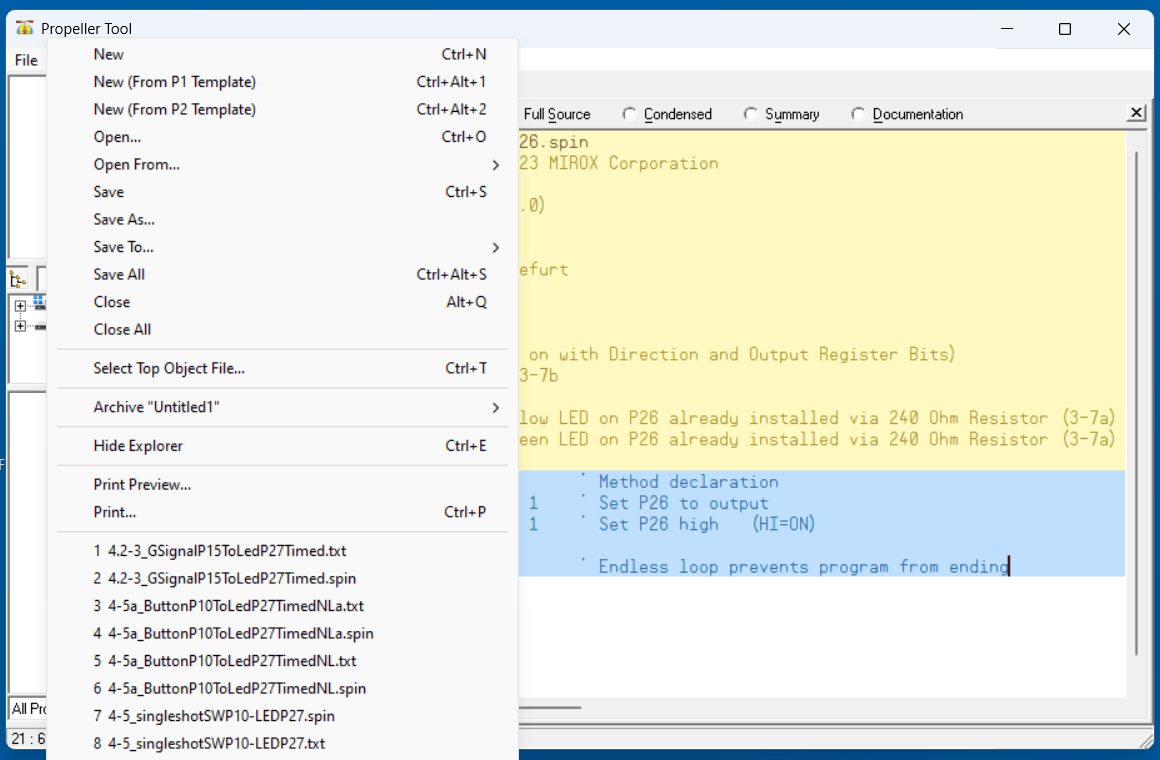
Click "Save As …"
"Save As" pop-up with the Parallax Propeller Icon at top LEFT similar to the one shown below should immediately appear:

Note, that one of the file folders shown is named "ParallaxLearn".
Double click this "ParallaxLearn" folder.
The "Save in:" Text Box should now display "ParallaxLearn", as shown below:
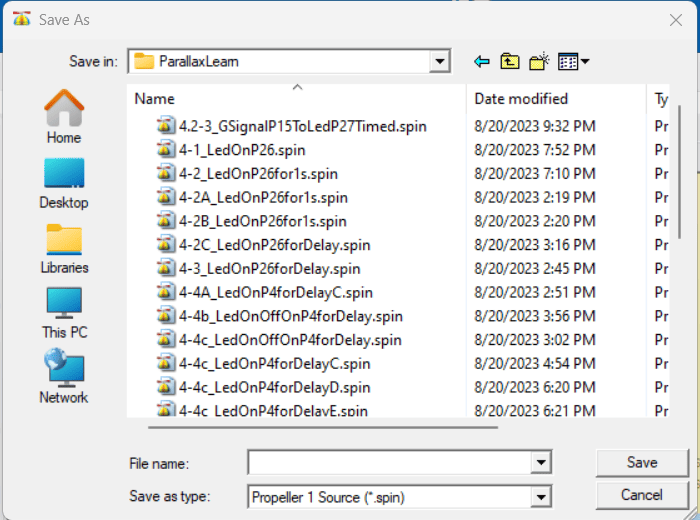
If you have not used this folder before, the file list pane should be "blank", except for the headings (Name and Date modified).
Place your cursor into the "File name:" Text Box.
Type the File Name of the Spin program into the Text Box - as per our Example this will be: "4-1_LedOnP26.spin".
Then click the [ Save ] button in the pop-up.
The Propeller Tool Window should now again be visible on top of your Desktop and look like this:
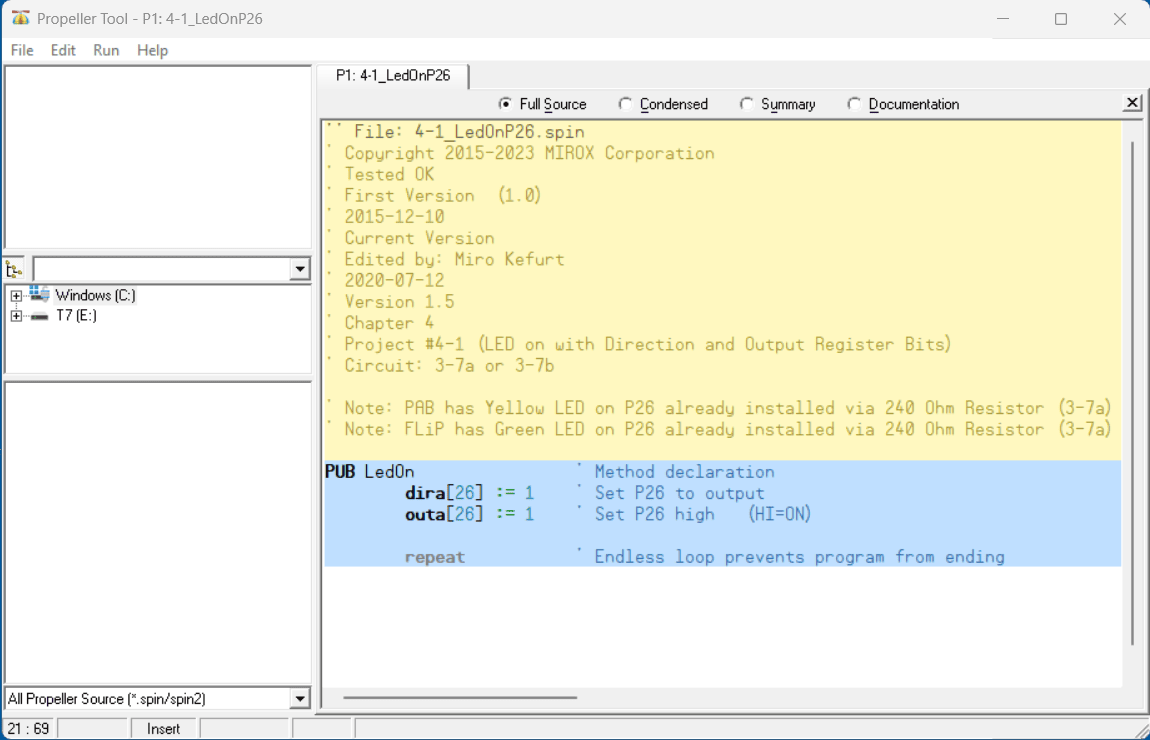
Note the change of the Name Tab for the right program pane
- The (*) asterisk has now disappeared.
- P1: now appears ahead of the Spin program Name in the Name Tab.
Spin is now SAVED to file folder on your computer's hard drive.
Step 6
LOAD RAM and RUN Spin Program
How to do it:
The Propeller Tool Window should again be visible on top of your Desktop and look like this:
In the Propeller Tool Window click Run on the Top Menu Bar (3rd item).
Following drop down menu should appear:
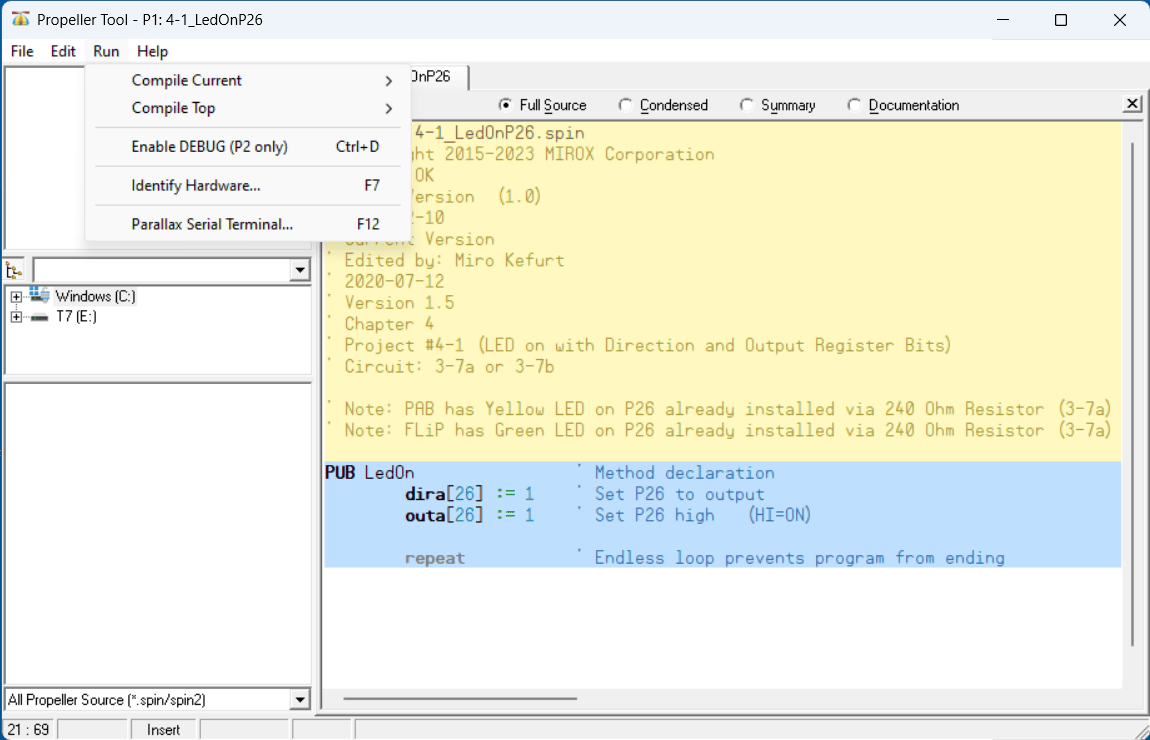
On the drop down menu select and click
"Compile Current"
Following drop down sub-menu should appear:
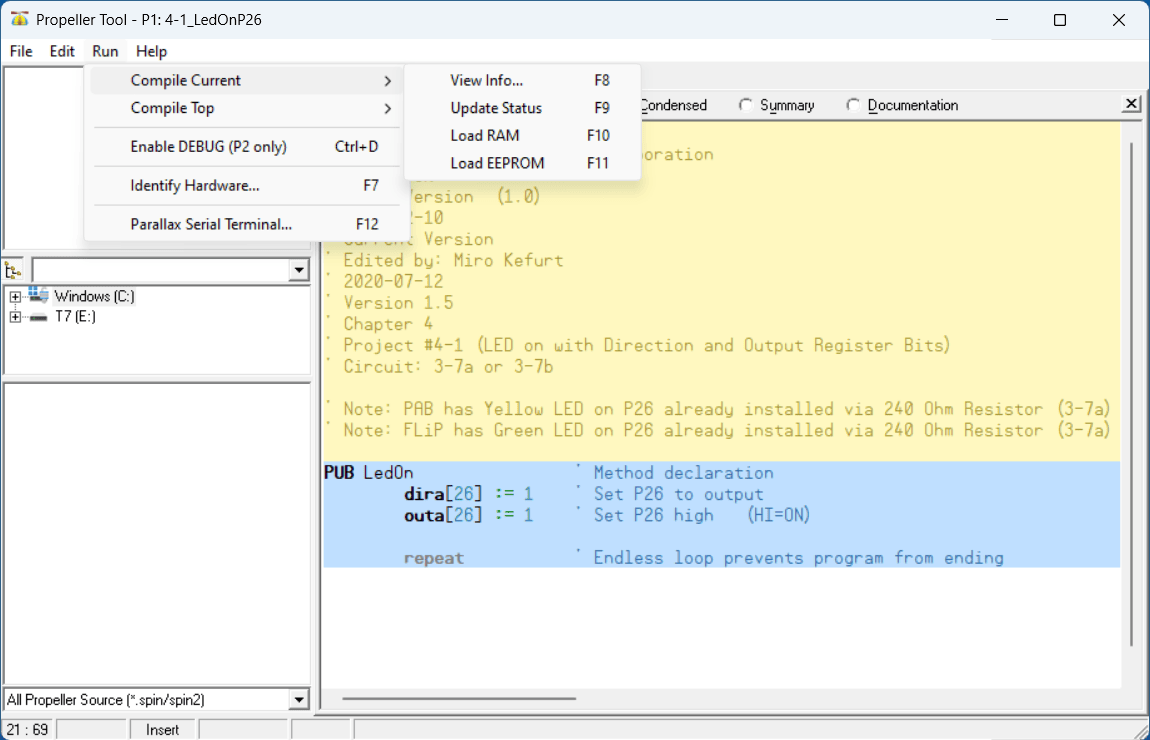
On the drop down sub-menu select and click
"Load RAM"
Or alternately press the [F10] Key.
Small pop-up window will appear in the center of the "Propeller Tool"
First the pop-up will show: "Checking RAM"
and
then: "Verifying RAM".
Note, this pop-up display will happen very quickly as it only takes less than a second.
Concurrently while this pip-up display is appearing, the RED and
BLUE LED on the FLiP module (which are indicating the
occurring USB communication) will briefly flash.
When the FLiP is loaded with the Spin Program, the small pop-up will disappear.
Immediately, the FLiP module will execute the loaded Spin program.
The result will be that the GREEN LED at P26 will light up and stay lit indefinitely due to repeat at the end of the Spin program.
Spin is now LOADED into FLiP module's RAM and the Spin program has executed (RUN).
Note:
RAM (Random Access Memory) is a "volatile" memory!
This means that the information (data or Spin program) in the RAM will remain present ONLY when the FLiP chip has been provided with an uninterrupted power (+5VDC), applied to FLiP either through USB or by a Power Supply to the "Power Pin" (+5-9VDC).
As soon as the power is removed or interrupted (even for a second) the information in the RAM is permanently lost.
The RAM is also "erased", if the FLiP is "reset" by pressing the RESET button on the FLiP module (at top of the FLiP module on the end opposite to the USB port).
![]()
Currently this page is still under development, so please check back periodically for new links to pages as we add them to this list.
Links to related Webpages
Click the link in the list below to navigate to a detailed webpage about the listed subject.
-
Parallax Propeller Book - Chapter 4 Part 1 (Programming - Part 1: Controlling Outputs)